
Upload a CSV file of your Current Inventory using the Import Inventory Function
Who has access to Perform this task: Owner.
Steps
- Login to the website at https://signup.canvusapps.com/login.
- If you have not dismissed the gray notification box or have an active item in the system your home page should display a
 button in the notification box. If the button does not exist or if you have dismissed the notification box then you can access the Import inventory function by clicking on
  in the Header next to the user's name and clicking on
  from the drop down list.
Note: If you have already uploaded a CSV file this link will not be available. Import Inventory is a one-time process. If you have an active item in the system you will be redirected back to the home screen with the following message being displayed.
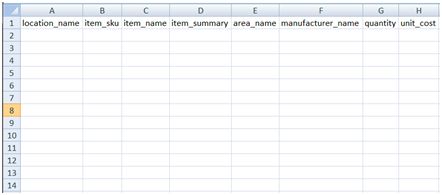
- The Import Inventory page will load. Please read the information bullet points before proceeding. Click on
 link and download the sample csv file. It should look similar to the screenshot below.
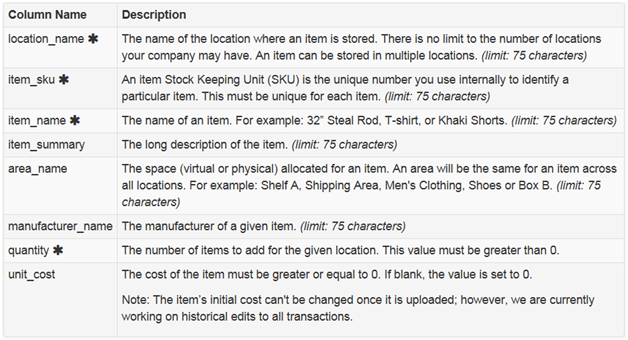
 - Leave the header row in the spreadsheet and start filling out the spreadsheet on line 2 based on the information provided in the matrix in Step 2 provided below and The best way to setup Stockpile Online Inventory Management blog.
- Once the spreadsheet has been filled out please save it as a CVS file through the spreadsheet capable application you are using. For most spreadsheet editors, you will need to choose "Save as" and select the ".csv" format. Please note that special characters like currency labels (e.g., $) should NOT be used in the file.
- Click on the
 button. Locate and select the CSV file you just created on your device. Prior to moving to Step 7 please read the following warning message:
 - Click on the
 button.
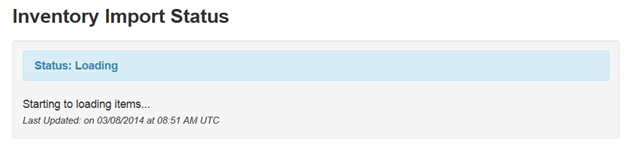
 - The Inventory Import Status page will load. It will look similar to the screenshot directly below.
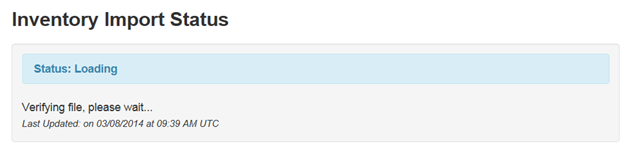
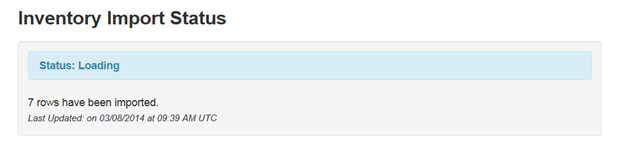
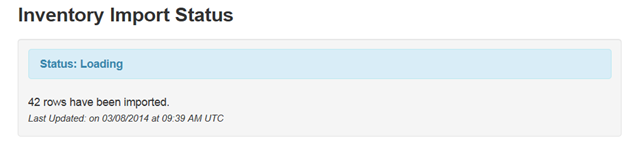
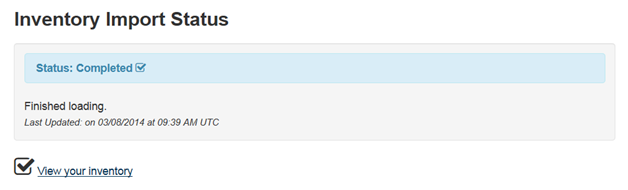
If the file was correctly formatted you should see updates similar to the screen shots below - If the file loaded successfully you should see the screenshot below. Click on the
 link to take you back to the home page. If an error occurred during the loading of the file, please read the message associated with the error, they will be very descriptive, and correct the CSV file and reload it.

![]()