
In a previous article, we talked about the addition of labels to Stockpile. Now, we would like to walk you through the mechanics of adding labels and some examples of how they can be used. There are two ways to add labels. Our online inventory system was made flexible so that either method you choose is easy and straightforward.
1) Adding labels to an existing item.
Here you click on an item in your catalog and you will pull up a page like this:
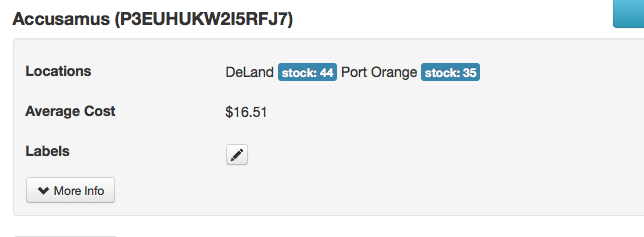
In the middle of the page, you will notice the label section and click on the "pencil" icon. If you have existing labels already entered, you will see them in your drop down list.
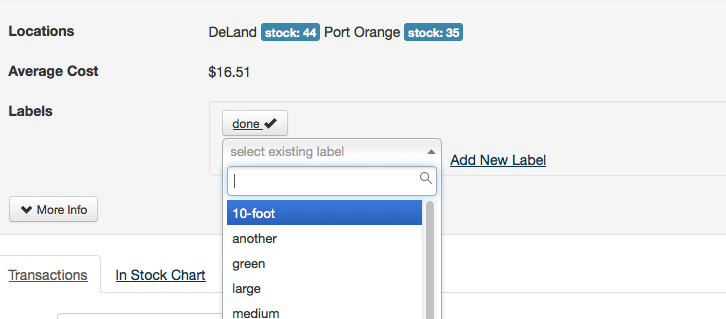
By selecting an item in the list, it adds that label to the item. Here we are going to select "medium" from the drop down.
If you want to add a new label that doesn't already exist in the drop down, you can select "Add New Label" which will replace the drop down with a place for you to enter a new label. This particular item is made out of steel and we want to capture that. We are going to add "steel" as a label.
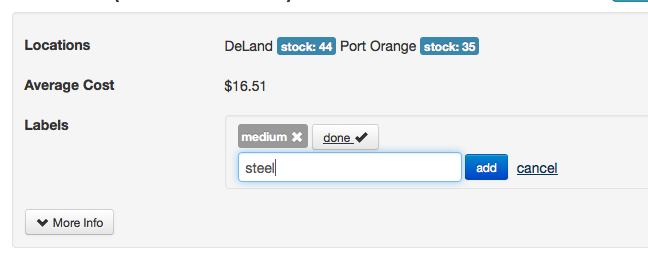
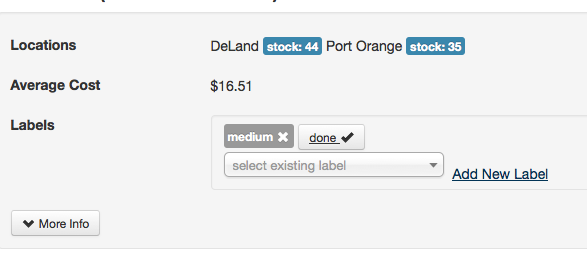
Click on "add" and that will add "steel" to your list of labels.
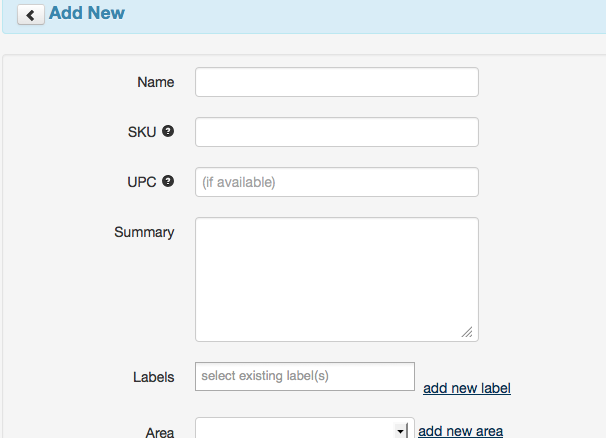
2) Adding labels to new inventory.
When you are entering a new item that doesn't exist in your inventory, you can add existing labels or a new label. This works much like the other pages, but it happens when you submit the new inventory.
That is a brief introduction to how to use labels. We think you will find these useful and allow you to organize your inventory however you see fit. Maybe along the way, we will help come up with some standard labels to share with you, but I might be getting ahead of myself.
Anyway, go ahead and give Stockpile a try!